Our Favorite Resources for Beginners on the Pottery Wheel
The potter’s wheel, like many crafts, is a skill to be gained. We often like to say that no one is naturally good at throwing pottery; like a sport or instrument, it takes years of practice to master. Below, we break down the three most challenging steps of throwing pottery on the wheel and include a variety of resources to help you tackle them. We encourage all Wheel 101 students to watch these in between each class.
Coning

Coning is the first step of the throwing process, in which a chunk of clay is brought up in a vertical direction. While many potters may combine this step with the next step of centering, we like to separate it, as it really is a unique technique that may seem a bit odd your first time on the wheel.
The important thing to know about coning is that it helps you get your chunk of clay in the center of the wheel, which is especially crucial as you begin working with larger amounts of clay. Coning can be a great addition to the work you did in the wedging process. It helps align your clay and continues to make it as homogeneous as possible, making it easier to throw. In the resource below, Florian shares a great graphic to explain this a bit better.
Resource: "How to Cone Clay on the Potter’s Wheel" by Florian Gadsby
Centering
Centering is the process of getting your somewhat symmetrical pieces of clay into the center of the wheel. Sounds easy enough? Centering is commonly known as the hardest part of wheel throwing for beginners. Because each step of the pottery process builds on one another, mastering centering is foundational to a successful experience on the wheel.
We know this is one of the hardest steps to get used to on the wheel, so we have included two great resources below!
Resource: "5 Steps to CENTERING CLAY on the Wheel!...for Beginners" by Jon the Potter
Resource: "How to Center Clay - A Beginner's Guide" by Florian Gadsby
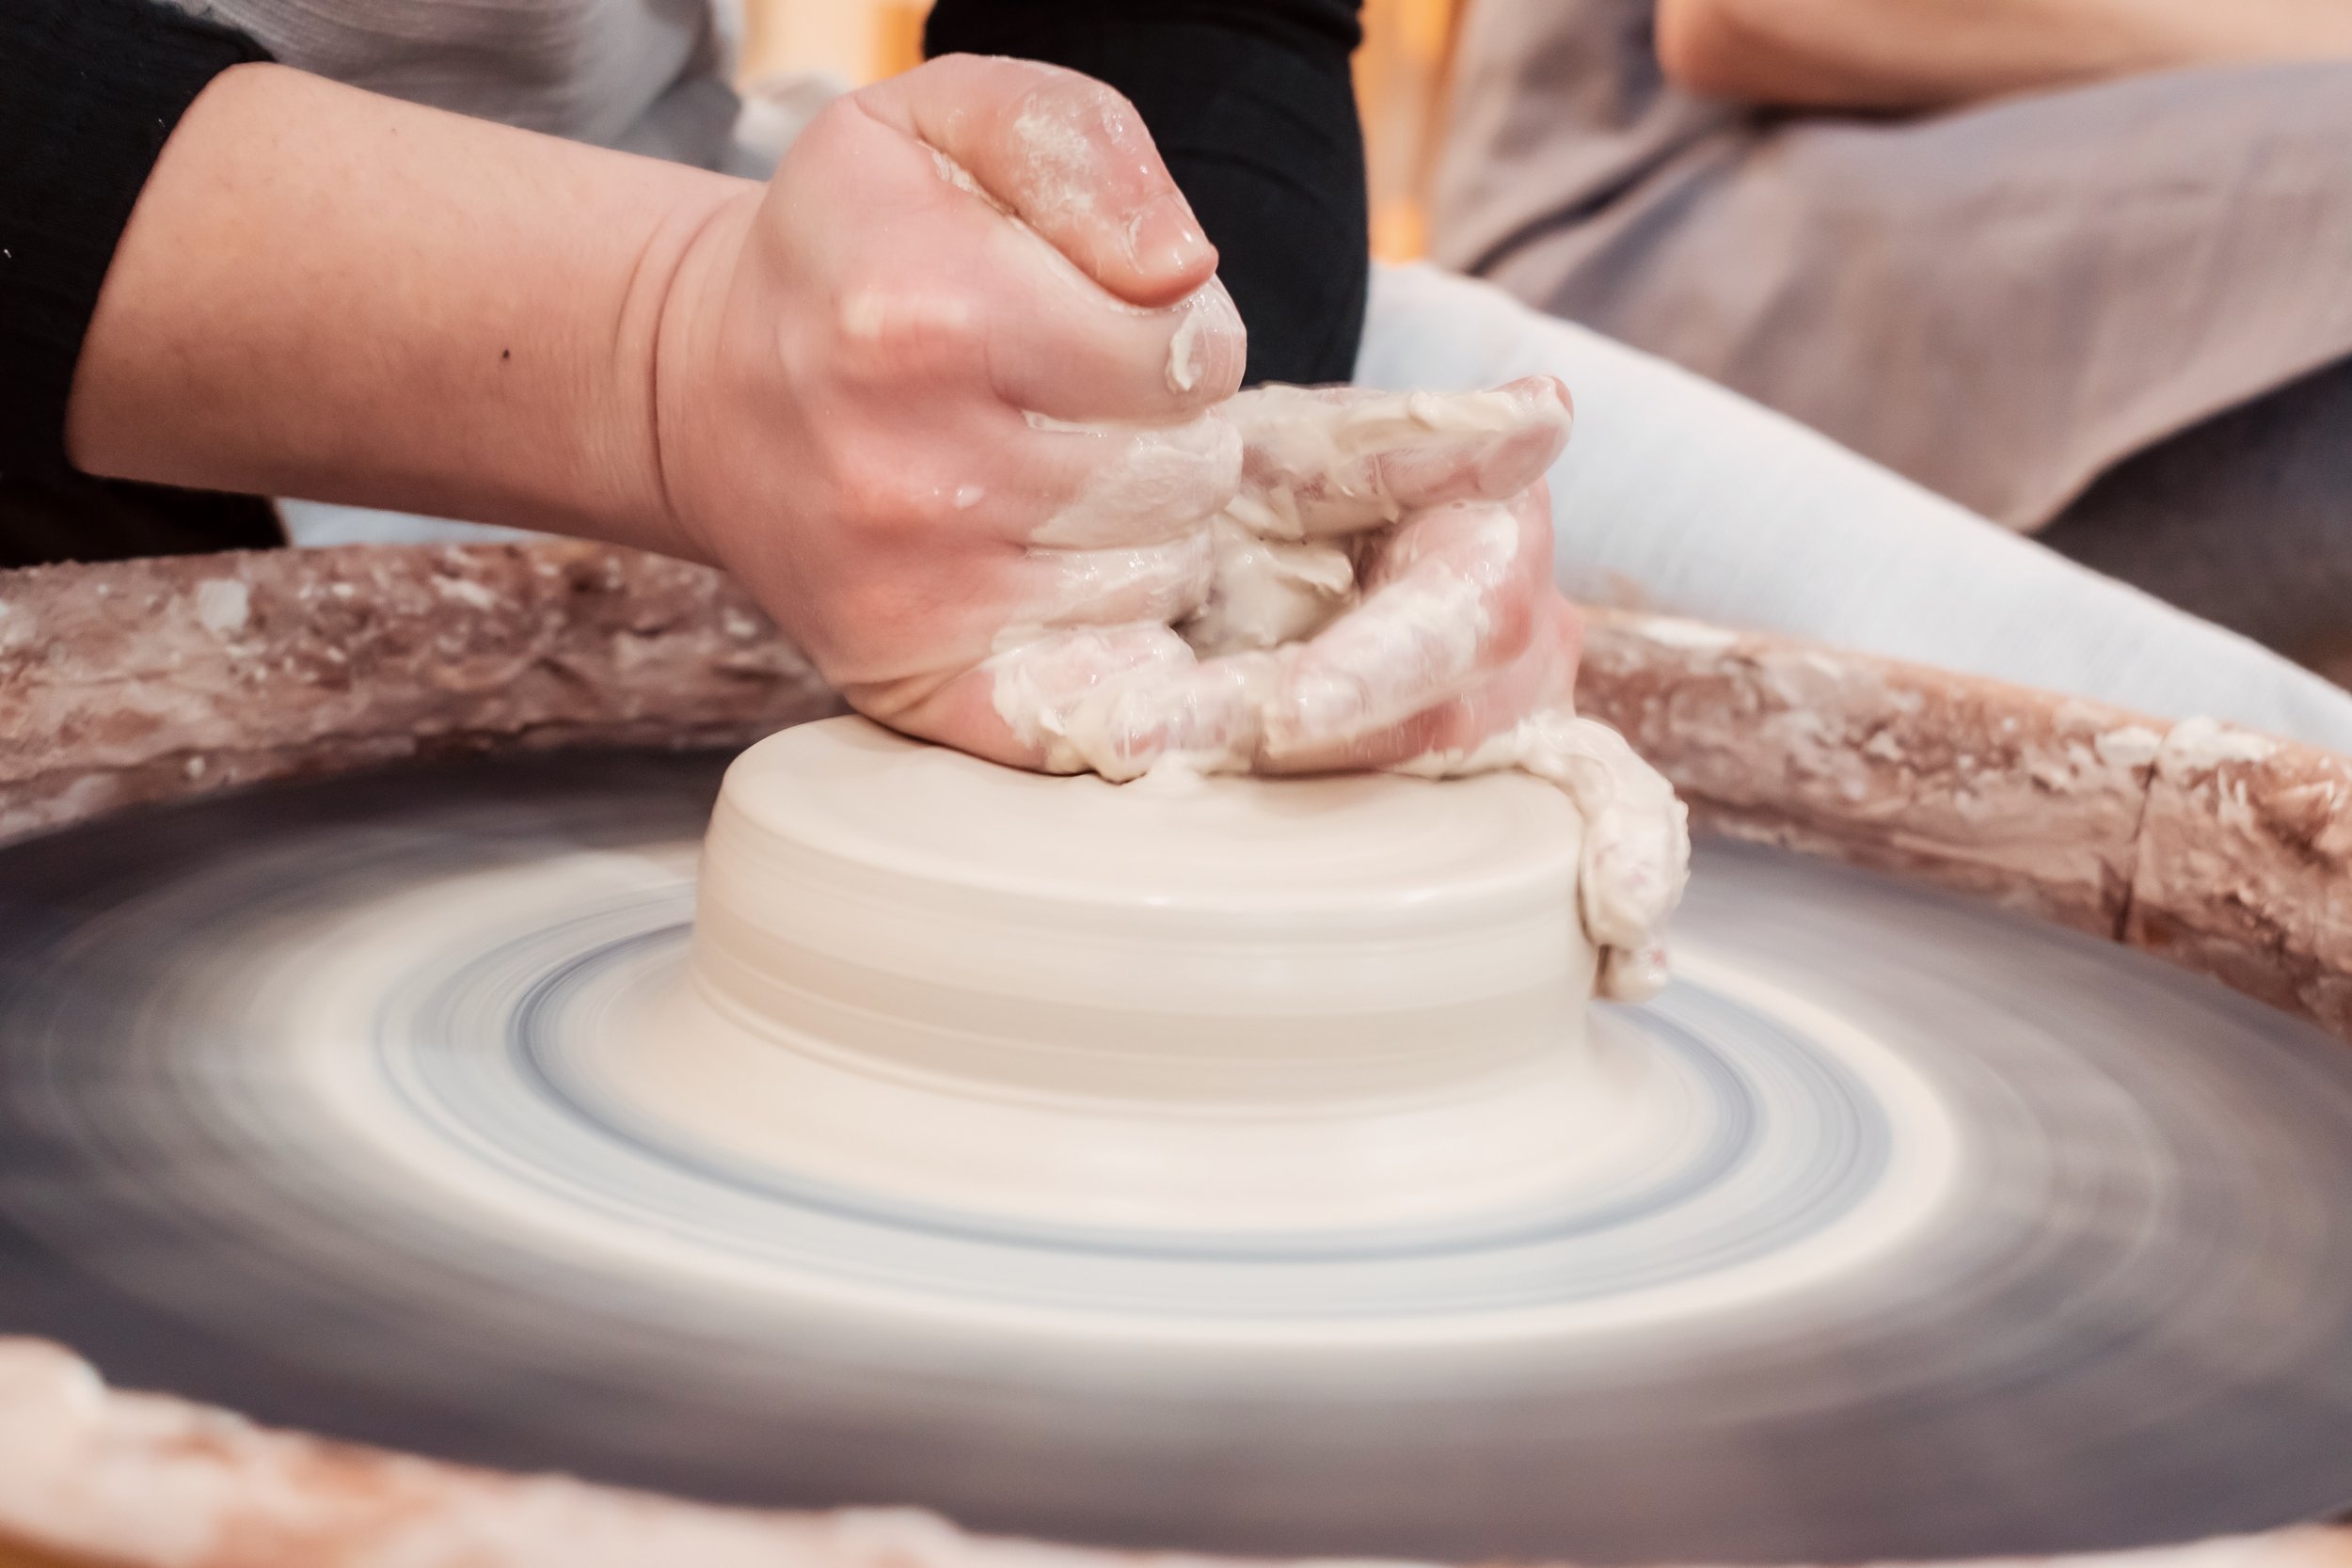
Pulling Walls

Once you have gotten your clay into the center of the wheel and managed to open and widen your clay, you are ready for the final step, pulling! In our studio, we like to refer to pulling as gliding. We do not want to grab and pull up, but instead carefully add pressure, ensuring there's plenty of water to be able to glide up our wall. While the following resource does not refer to this as gliding, they do a great job sharing where pressure is being applied and why. Shout out to Donte for wanting a name change from pulling to squeezing; we agree the word pulling just doesn’t give this step justice!
Resource: “Pulling for beginners (common mistakes)” by Earth Nation
Throwing as a “Leftie”
While many left-handed individuals end up throwing right-handed, we do want to share a great resource for our "lefties" out there, as all of our instructors, including our left-handed ones, throw as "righties."
Resource: "Throwing for Lefties" by Nado Ceramics
One of the greatest takeaways from all of the videos we have suggested is that there are multiple ways to throw on the potter’s wheel! If you are brand new to pottery, we recommend signing up for a class to get real-time feedback as you develop your skills at each stage of the throwing process. Once you have gotten your hands on clay, continue to watch videos, like the ones we shared above; you would be surprised how helpful it is to watch others in between your studio time to help refine a step that may have been tricky.
As always, practice makes improvement!